You’ve listened to enough podcasts to know you could do better than half of them. You’ve got the ideas, you’ve got something worth saying, and you’ve even got a quiet room. What you don’t have is a microphone — and the options range from £30 USB sticks to £300 studio condensers that need an interface, a preamp, and a degree in audio engineering to set up.
The good news: for podcasting, USB microphones are the answer. They plug straight into your laptop, they sound excellent, and the best ones rival XLR microphones costing twice as much. The bad news: there are hundreds of them, and the Amazon listings are a minefield of fake reviews and identical-looking Chinese clones with made-up brand names. Here’s what’s actually worth buying.
In This Article
- USB vs XLR: Why USB Wins for Most Podcasters
- Condenser vs Dynamic: Which Type for Podcasting
- What to Look For in a Podcast Microphone
- Best USB Microphones Under £50
- Best USB Microphones £50 to £120
- Best USB Microphones Over £120
- Microphone Polar Patterns Explained
- Room Treatment Matters More Than Your Microphone
- Essential Accessories for Podcast Recording
- Recording Software for Beginners
- Common Mistakes New Podcasters Make
- Frequently Asked Questions
USB vs XLR: Why USB Wins for Most Podcasters
XLR microphones are the professional standard. They need a separate audio interface (£50-300) to convert the analogue signal to digital, they need phantom power for condenser models, and they need an XLR cable. The audio quality ceiling is higher than USB, but you’re paying for it in complexity and cost.
USB microphones have the audio interface built in. Plug them into your laptop’s USB port and they show up as an audio input device. No interface, no phantom power supply, no XLR cable, no driver installation on most systems. You’re recording in under a minute.
When USB Is the Right Choice
- Solo podcasters — one mic, one voice, one USB port. It doesn’t get simpler
- Beginner to intermediate podcasters — the quality difference between a £100 USB mic and a £100 XLR mic + £100 interface is negligible for speech
- Podcasters who travel — one mic, one USB cable, done. No interface to pack, no power supply to forget
- Budget-conscious creators — your entire setup can cost under £100 instead of £200+
When to Go XLR Instead
If you’re recording two or more people in the same room, you need separate microphones feeding into a multi-input interface — that means XLR. If you want to use hardware processors (compressors, EQs) in your signal chain, that’s XLR territory. If you’re already invested in audio production and want maximum flexibility, XLR makes sense. For everyone else — and that’s most podcasters — USB is the pragmatic choice.
Condenser vs Dynamic: Which Type for Podcasting
Condenser Microphones
Condenser mics are more sensitive and capture more detail. They pick up the subtle nuances of voice — breath, tone, the natural resonance of your speaking voice. They also pick up everything else: traffic outside, the fridge humming in the next room, your neighbour’s dog, the fan on your laptop. In an untreated room (which is most home offices), a condenser mic will capture a detailed recording of your voice surrounded by a detailed recording of all the background noise.
Dynamic Microphones
Dynamic mics are less sensitive by design. They focus on what’s directly in front of them and reject off-axis sound. This makes them far more forgiving of noisy environments — they’ll capture your voice clearly while largely ignoring the room around you. The trade-off is that they capture slightly less vocal detail and need you to speak closer to the mic (within 10-15cm).
The Podcasting Verdict
For home podcasting in a normal room without acoustic treatment: dynamic. The background noise rejection is worth more than the extra detail a condenser provides. The most popular podcast microphones in the world (Shure SM7B, Shure MV7, Rode PodMic) are all dynamic for exactly this reason.
For podcasting in a treated room or quiet studio: condenser. You’ll get a richer, more detailed sound that makes editing easier and the final product more polished.
What to Look For in a Podcast Microphone
Sample Rate and Bit Depth
For speech, 48kHz/16-bit is more than sufficient. Most USB mics support this. Higher specs (96kHz/24-bit) are overkill for podcasting — they increase file sizes without audible improvement for voice recording. Don’t pay extra for specs you won’t use.
Zero-Latency Monitoring
A headphone jack on the microphone that lets you hear yourself in real time without delay. This is essential for monitoring your voice while recording. Without it, you won’t notice problems (popping, distortion, room noise) until playback. Most quality USB mics include this; budget ones often don’t.
Gain Control
A physical dial or button on the microphone that adjusts input level. This lets you set the right recording volume without diving into software settings. Mics without gain control require you to adjust levels in your recording software, which is less intuitive and harder to adjust on the fly.
Mute Button
A physical button that mutes the mic instantly — essential for coughing, sneezing, or the awkward moment when someone walks into your recording room. A good mute button is silent (no click that the mic picks up) and has a clear visual indicator (LED colour change) so you know whether you’re muted.
Best USB Microphones Under £50
Fifine K669B (About £25-30)
The best budget USB microphone available and the one to buy if you’re testing whether podcasting is for you before investing more. It’s a condenser mic with a cardioid pattern, decent sound quality for the price, and a metal build that feels more expensive than it is. No headphone jack, no gain control — just plug in and record. The sound is thin compared to more expensive options but perfectly listenable for a first podcast. Available from Amazon UK.
Best for: Absolute beginners testing the waters.
Samson Q2U (About £40-50)
The best value microphone on this entire list. It’s a dynamic mic that works via USB AND XLR — meaning you can start with USB and upgrade to an XLR interface later without buying a new mic. The sound quality is excellent for speech, background noise rejection is good (dynamic advantage), and it includes a headphone jack for monitoring. Comes with both USB and XLR cables. Available from Amazon UK and Thomann.
Best for: Beginners who might upgrade later. Extraordinary value.
Best USB Microphones £50 to £120
Rode NT-USB Mini (About £80-95)
Rode’s compact condenser USB mic that punches well above its price. The sound is warm and detailed, the built-in pop filter works reasonably well, and the magnetic desk stand is cleverly designed. Zero-latency monitoring via the headphone jack, and a dial to blend mic signal with computer audio in your headphones. The only downside is that it’s a condenser, so it picks up room noise. Use it in a quiet room and it sounds fantastic. Available from Amazon UK, Currys, and music retailers. For a related angle, see our Best Kids Headphones 2026: Volume Limited & Safe guide.
Best for: Solo podcasters in quiet rooms who want rich, detailed sound.
Shure MV7 (About £200-250 but frequently on sale for £110-130)
The Shure MV7 is the USB version of the legendary SM7B (the mic you’ve seen in every professional studio). It’s a dynamic mic with both USB and XLR outputs, a touch panel for gain and monitoring, and Shure’s MOTIV software for voice processing. The sound is smooth, broadcast-quality, and remarkably forgiving of room noise. When it goes on sale (which is often), it’s the best USB podcast mic at any price. Available from Amazon UK, Thomann, and music retailers.
Best for: Anyone serious about podcasting. The mic most podcasters wish they’d bought first.
Elgato Wave:3 (About £100-120)
Designed specifically for streamers and podcasters, with a proprietary anti-clipping technology that prevents distortion when you suddenly get loud (laughing, exclaiming). Condenser capsule with good detail, a physical gain dial, mute button, and excellent zero-latency monitoring. The Elgato Wave Link software lets you mix multiple audio sources, which is useful if you combine podcasting with streaming. Available from Amazon UK and Currys.
Best for: Podcasters who also stream, or anyone who gets loud while recording.
Best USB Microphones Over £120
Blue Yeti X (About £130-160)
The upgraded version of the hugely popular Blue Yeti. Four-pattern selection (cardioid, omni, bidirectional, stereo) makes it versatile for different recording scenarios — solo recording, interviews with a guest opposite you, or ambient recording. The sound quality is very good for a condenser, and the high-res LED meter on the front shows your input level in real time. Build quality is tank-like. Available from Amazon UK, John Lewis, and Currys.
Best for: Podcasters who record different formats (solo, interview, round-table).
Rode NT-USB+ (About £150-170)
Rode’s premium USB offering with an internal DSP (digital signal processor) that handles noise gate, compression, and high-pass filtering inside the mic itself — your audio comes out processed before it even hits your recording software. This is a massive time-saver for podcasters who don’t want to spend hours editing. The sound is studio-quality for speech. Revolution Preamp technology keeps the noise floor extremely low. Available from Amazon UK and music retailers.
Best for: Podcasters who want broadcast-quality audio with minimal post-production. Brands like Rode have expanded their USB range precisely because podcast listenership keeps growing — investing in good audio now pays off as your audience grows.
Microphone Polar Patterns Explained
The polar pattern describes which direction the mic picks up sound from.
Cardioid (Heart-Shaped)
Picks up sound from the front, rejects sound from the sides and back. This is the pattern you want for solo podcasting — speak into the front, and the mic ignores the room behind you. The vast majority of podcast mics use cardioid.
Omnidirectional
Picks up sound equally from all directions. Useful for recording a room (ambient sound, round-table discussions with multiple people sitting around the mic) but terrible for solo podcasting because it captures just as much room noise as voice. Our How Noise Cancelling Works: ANC Technology Explained guide is useful alongside this.
Bidirectional (Figure-8)
Picks up from the front and back, rejects from the sides. Useful for face-to-face interviews where you and your guest sit opposite each other with the mic between you. Rarely needed for standard podcasting.
Which Pattern Should You Use?
Cardioid. If your mic has multiple patterns, set it to cardioid and leave it there for all solo recording. Only switch to figure-8 for face-to-face interviews or omni for group discussions.
Room Treatment Matters More Than Your Microphone
This is the uncomfortable truth that microphone manufacturers don’t want you to hear: a £50 microphone in a well-treated room sounds better than a £300 microphone in an untreated room. The room acoustic is at least half of your recording quality.
Quick Room Treatment for Podcasters
- Record in a small, carpeted room — closets and small bedrooms are better than large living rooms. More soft surfaces, less echo
- Hang heavy curtains or blankets — even temporary blankets on the wall behind your mic reduce reflections noticeably
- Close the window and door — obvious but overlooked. Every gap lets in traffic, birds, and wind noise
- Use a rug under your desk — hard floors reflect sound back up into the mic
- Sit away from walls — reflections from the wall behind you bounce back into the mic. Even 30cm of gap helps
The Duvet Test
If you want to hear the difference room treatment makes, record a test clip in your normal room. Then drape a duvet over your head and the mic (creating a sound-deadened tent) and record the same clip. The difference will be dramatic — and it’s entirely about the room, not the mic.
Essential Accessories for Podcast Recording
Boom Arm (About £20-60)
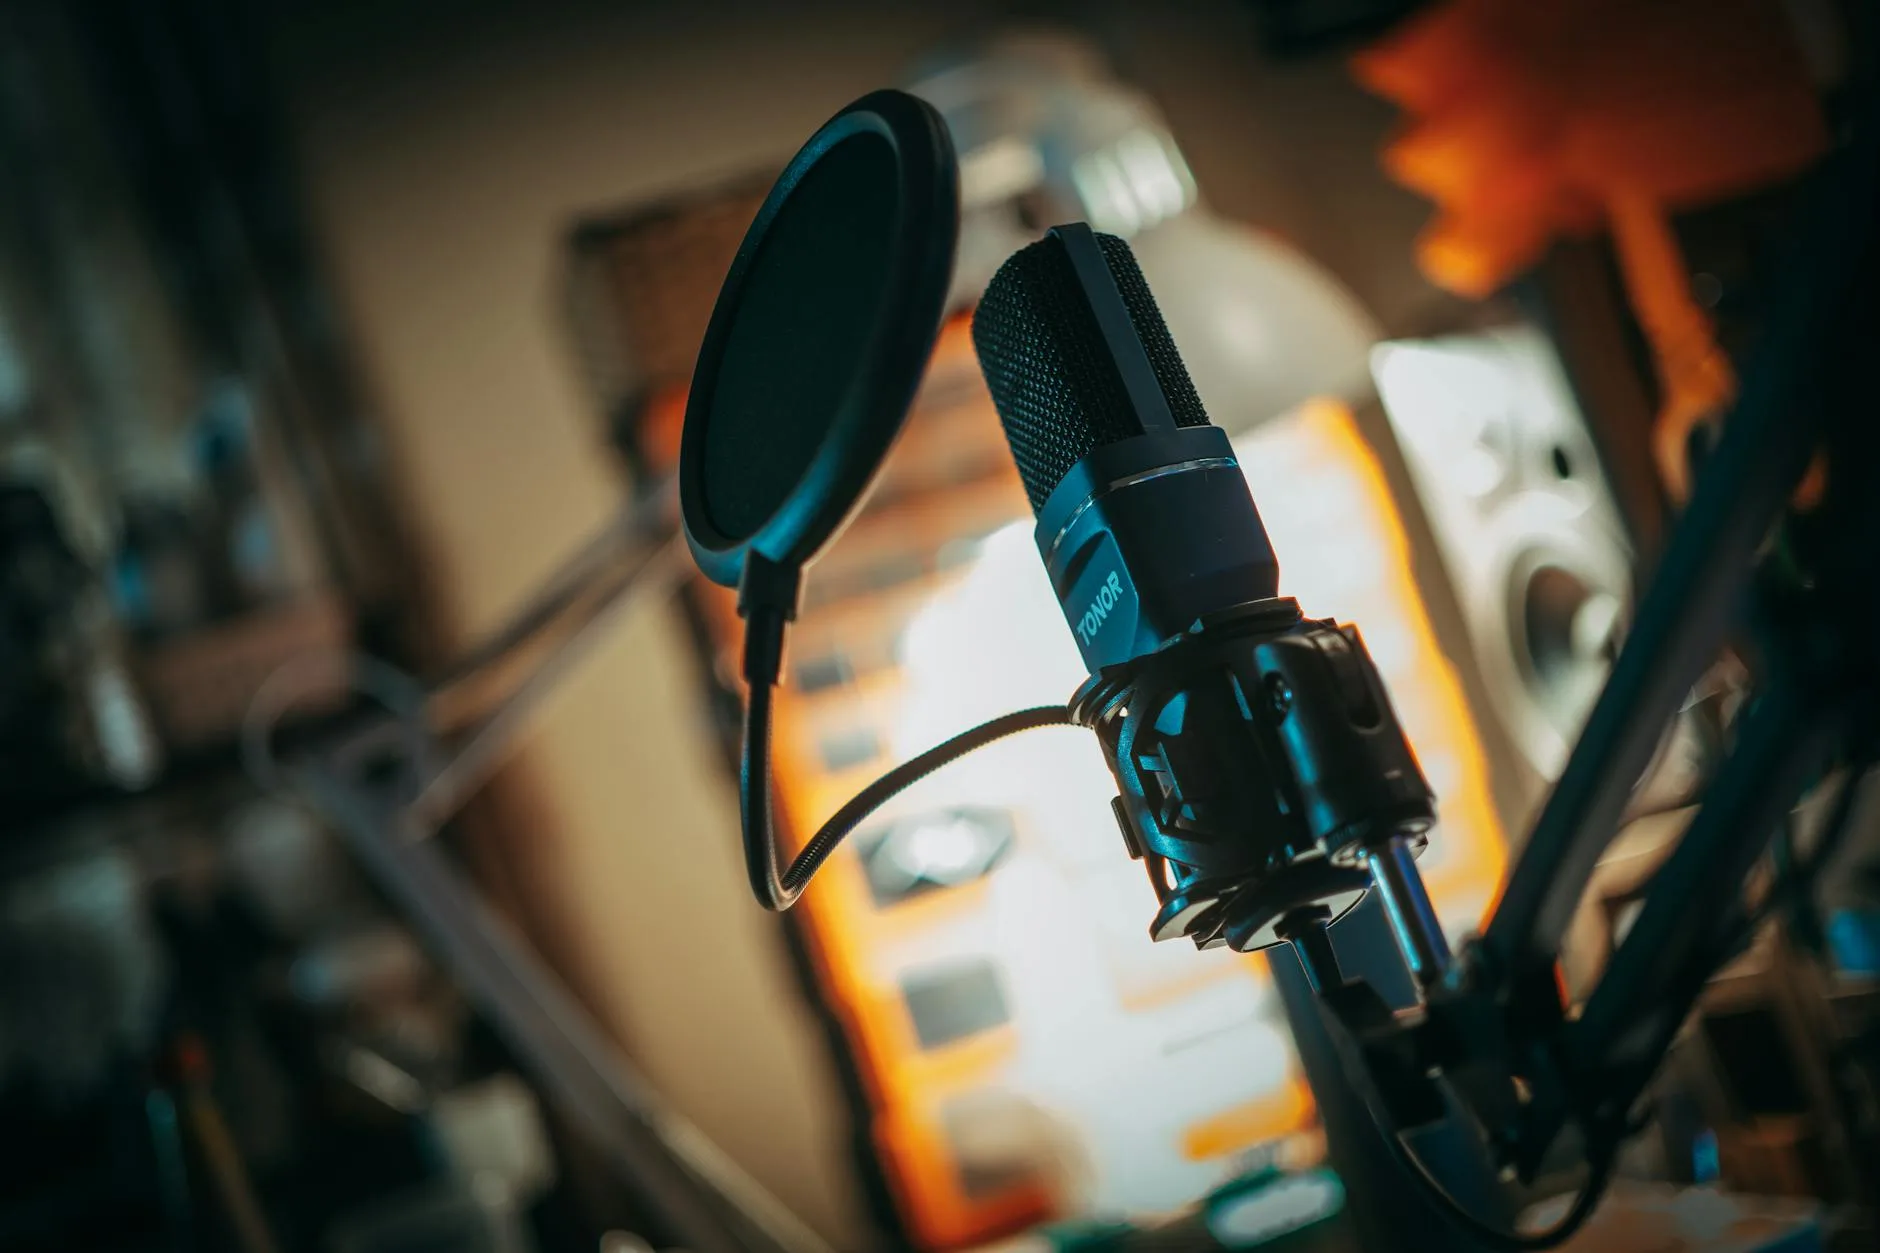
A desk-mounted arm that holds the mic at mouth height, freeing up desk space and letting you position the mic precisely. The Rode PSA1+ (about £90) is the gold standard, but the TONOR T20 (about £20) works well for lighter mics. Essential for comfortable, consistent recording — holding a mic or using a short desk stand means moving your head to maintain position, which changes your sound.
Pop Filter (About £5-15)
A mesh screen between your mouth and the mic that blocks plosive sounds (the burst of air from P, B, and T sounds that creates a booming thud in recordings). Some mics have built-in pop filters, but an external one is always better. The dual-layer nylon type (about £8) works perfectly. Metal mesh pop filters are more durable but slightly less effective. We cover a similar decision in Best Record Players with Built-In Speakers.
Shock Mount (About £10-30)
A cradle that suspends the mic on elastic bands, isolating it from vibrations transmitted through the desk — keyboard typing, bumping the desk, footsteps on the floor above. Many soundproofing techniques help with airborne noise, but a shock mount handles the structural vibrations that travel through furniture. Most USB mics come with a basic stand but no shock mount. If your mic picks up desk vibrations, a shock mount is the fix.
Headphones (About £20-50)
Closed-back headphones for monitoring. They need to be closed-back (not open-back) so the sound doesn’t leak out and get picked up by the mic. The Audio-Technica ATH-M20x (about £40) is the budget standard. Plug them into the mic’s headphone jack for zero-latency monitoring. You can find more detail in our headphone buyer’s guide.
Recording Software for Beginners
Audacity (Free)
Open-source, available on Windows, Mac, and Linux. It’s ugly, the interface is dated, and it has a learning curve — but it’s free, powerful, and used by thousands of podcasters. Handles recording, editing, noise reduction, and export. The one tool you need to start podcasting without spending anything on software.
GarageBand (Free, Mac Only)
If you’re on a Mac, GarageBand is simpler than Audacity and sounds better out of the box. The podcast-specific templates make setup quick, and the built-in processing (compression, EQ) works well for speech. Apple designed it to be intuitive, and it shows.
Riverside.fm / Zencastr (Freemium)
Web-based platforms that record each participant locally, then sync the audio. This gives much better quality than recording a Zoom call because each person’s audio is captured at full quality on their own machine, avoiding the compression that video calling applies. Essential for remote interviews. Free tiers are limited but usable.
Common Mistakes New Podcasters Make
Mic Too Far Away
The number one audio quality mistake. Most people put the mic 30-40cm away like they’re having a conversation with it. For a dynamic mic, you need to be 5-15cm away. For a condenser, 15-25cm. Closer = more voice, less room. This single adjustment improves sound quality more than buying a better mic.
Gain Too High
If the input level is too high, your audio clips (distorts) on loud passages and sounds harsh throughout. Set the gain so your normal speaking voice peaks at about -12dB to -6dB on the meter. This leaves headroom for emphasis and exclamations without clipping.
Recording in the Kitchen
Kitchens are acoustically terrible — hard surfaces everywhere (countertops, tiles, glass), the fridge humming, the boiler clicking. Record in a bedroom, study, or walk-in wardrobe. Carpet, curtains, and soft furniture are your friends.
Ignoring the Headphone Jack
Not monitoring through headphones means you don’t hear problems until editing. Background noise, plosives, distortion, mic rustling — all of these are obvious in headphones and invisible without them. Always monitor while recording.
Frequently Asked Questions
What’s the best USB microphone for podcasting under £100? The Samson Q2U at about £40-50 is the best value — it’s a dynamic mic with USB and XLR outputs, includes a headphone jack, and sounds excellent for speech. If you want richer, more detailed sound and have a quiet room, the Rode NT-USB Mini at about £85 is the best condenser option. Both are outstanding for the price.
Do I need an expensive microphone for a podcast? No. A £40 Samson Q2U in a quiet room with basic treatment (carpet, curtains closed) will sound professional. Microphone quality matters far less than room acoustics and mic technique. Spend your first £100 on a decent mic and basic accessories (boom arm, pop filter) rather than putting the entire budget into the mic itself.
Can I use a USB microphone with my phone? Most USB microphones work with phones via a USB-C adapter (or Lightning adapter for older iPhones). However, some mics draw more power than a phone can provide through its USB port, causing connection issues. The Rode NT-USB Mini and Samson Q2U both work reliably with phones. Check the manufacturer’s specifications before buying if phone recording is important.
USB or XLR microphone for a beginner podcaster? USB. The simplicity of plug-and-play means you spend time podcasting instead of troubleshooting audio interfaces. The Samson Q2U gives you both connections, so you can start with USB and move to XLR later if you outgrow it. Most podcasters never need to make that switch.
Why does my USB microphone sound echoey? Almost always a room problem, not a microphone problem. Hard walls, bare floors, and large rooms reflect sound back into the mic, creating echo and reverberation. Close the door, close the window, hang something soft on the wall behind the mic, and sit away from hard surfaces. A rug under your desk helps too. If you’re using a condenser mic, consider switching to a dynamic — they reject room reflections far better.