You pull out a record you know well, drop the arm, and the first chorus sounds fuzzy in a way it never used to. Maybe the right channel is spitting slightly, maybe the vocal has lost its centre, or maybe you caught the stylus on a sleeve and now every play feels a bit risky. This replace turntable stylus guide is for that moment: calm down, identify what is actually fitted to your cartridge, and change the needle without turning a £25 job into a full cartridge replacement.
In This Article
- Replace Turntable Stylus Guide: What You Need First
- Stylus vs Cartridge: What You Are Replacing
- Signs Your Stylus Needs Changing
- How to Find the Right Replacement Stylus
- How to Remove the Old Stylus Safely
- How to Fit the New Stylus
- Checks Before Playing a Record
- Common Mistakes That Damage Styli
- How Much Should You Spend?
- Keeping the New Stylus in Good Condition
- Bottom Line
- Frequently Asked Questions
Replace Turntable Stylus Guide: What You Need First
Before you order anything, get three details: the turntable model, the cartridge model, and the current stylus model if it is printed on the plastic grip. That last one matters most. A Rega, Audio-Technica, Pro-Ject or Sony deck may have left the shop with one cartridge and been changed later, so buying by turntable model alone can be a neat way to waste money.
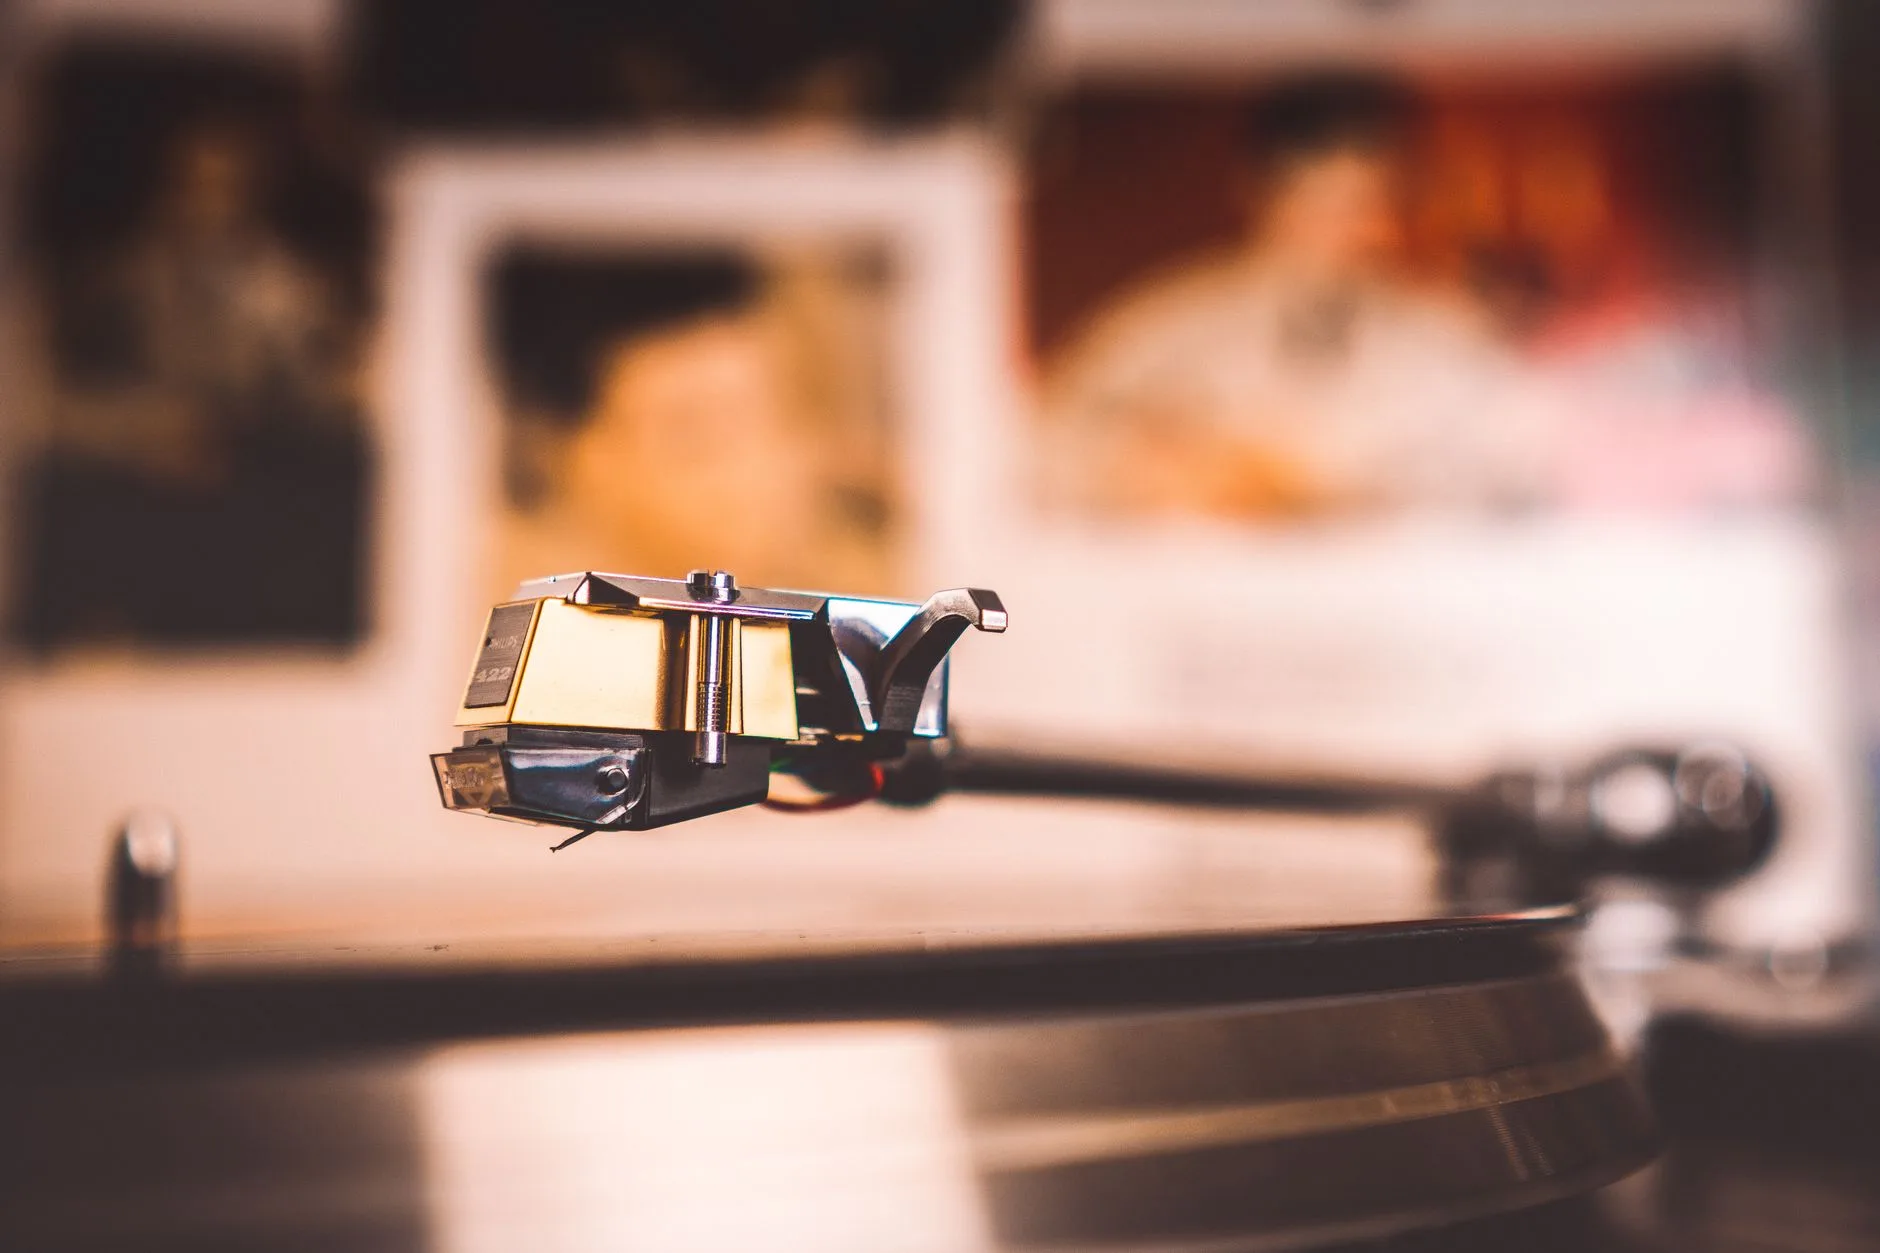
I would start with a phone photo of the cartridge from the front, side and underside. Zoom in rather than poking at it. On many moving-magnet cartridges, the stylus assembly is a coloured plastic nose clipped into the cartridge body. On others, especially moving-coil cartridges and some Rega models, the stylus is not user-replaceable and the whole cartridge needs service or replacement.
You do not need much kit for the job:
- Good light: A desk lamp is better than trying to do this under a ceiling pendant.
- A clean work area: Keep sleeves, records and pets away from the platter while the stylus guard is off.
- The correct replacement stylus: Match the cartridge or stylus model, not just the turntable brand.
- A stylus brush: Useful after fitting, but do not use it as a tool for pulling the old stylus out.
- A tracking-force gauge: Optional on simple fixed-force decks, useful on adjustable tonearms.
If your setup is still quite new, read our turntable setup guide before changing anything. A badly balanced arm can mimic a worn stylus by mistracking on loud grooves.
Stylus vs Cartridge: What You Are Replacing
The stylus is the tiny diamond tip that sits in the record groove. The cartridge is the larger body that converts that movement into an electrical signal. On many beginner and mid-range decks, the stylus slides or clips out of the front of the cartridge. That is the cheap, normal maintenance job.
The cartridge replacement job is different. You undo screws, disconnect tiny headshell wires, align the new cartridge, set tracking force, and often adjust anti-skate. It is not difficult if you are patient, but it is much easier to get wrong. If your existing cartridge body is healthy and your issue is a worn or damaged needle, replace the stylus first.
The common UK starter-deck situation
Many UK buyers start with something like an Audio-Technica AT-LP60X, an older LP120, a Sony automatic deck, a Pro-Ject Primary, a Rega Planar 1, or a second-hand Technics-style deck from Facebook Marketplace. These do not all handle stylus changes in the same way. Some have a plug-in stylus assembly, some have a removable headshell, and some need a matching brand-specific part.
The practical rule is this: if the replacement part you are buying looks like a small plastic nose with a cantilever and diamond tip attached, you are replacing the stylus. If it is a whole cartridge body with four rear pins and screw holes, you are replacing the cartridge.
Why this distinction saves money
A decent replacement stylus can cost about £18-£70. A full cartridge swap can run from £35 for a basic Audio-Technica VM95C to £100-£170 for something like an Ortofon 2M Blue stylus upgrade path, before alignment tools or a shop setup fee. There is no shame in paying a hi-fi shop to do it if the deck is valuable. For a normal user-replaceable stylus, though, the job should take minutes, not an afternoon.
For background on cartridge and stylus care, iFixit’s Audio-Technica cartridge and stylus replacement guide is useful because it shows the fragile bit that actually touches the record.
Signs Your Stylus Needs Changing
A worn stylus does not always fail in a dramatic way. More often it gets dull, spitty or unstable. The first thing I listen for is distortion on records that used to play cleanly, especially near the end of a side where inner grooves are less forgiving. If several clean records suddenly sound rough in the same way, suspect the stylus before blaming the pressing.
Watch for these signs:
- Sibilance: Vocals make harsh “s” sounds that were not there before.
- Inner-groove distortion: The last track on each side sounds gritty or pinched.
- Channel imbalance: One speaker sounds weaker or noisier.
- Skipping on clean records: Not every skip is a stylus fault, but repeated skipping is a warning.
- A bent cantilever: If the tiny metal arm is visibly leaning, stop playing records.
- Unknown history: A second-hand deck with no service record deserves a fresh stylus before prized vinyl goes near it.
Do not use your rarest record as the test disc. Use something clean, familiar and replaceable. If it still sounds wrong after the stylus change, then look at tracking force, alignment, dirty records, worn records or a cartridge fault.
Hours are only a rough guide
Manufacturers give stylus-life estimates, but they are not a perfect clock. Clean records, correct tracking force and gentle cueing extend life. Dusty charity-shop LPs, low tracking force that causes mistracking, and ham-fisted handling shorten it. The practical photos in iFixit’s needle replacement and calibration guide are useful because they treat the stylus as a small precision part, not just a throwaway needle.
If you bought the deck used, assume the stylus is older than the seller remembers. That is not cynicism. It is vinyl self-defence.
How to Find the Right Replacement Stylus
The safest route is to identify the cartridge model and buy the matching stylus from the cartridge maker or a reputable UK hi-fi retailer. Richer Sounds, Sevenoaks, Peter Tyson, Henley Audio dealers, Analogue Seduction, Amazon UK and specialist vinyl shops may all stock common replacements, but double-check the model code before ordering.
Where to look for the model code
Look on the front and sides of the cartridge. Audio-Technica VM95 styli often have a coloured stylus grip and model family markings. Ortofon 2M cartridges have their colour and model name plainly on the body. Some budget cartridges show very little, which is where the turntable manual, original receipt or product page helps.
If you cannot read the code:
- Photograph it under bright light: Zooming a photo is safer than putting your face near the cantilever.
- Check the turntable manual: It may list the factory cartridge and stylus part.
- Search by cartridge body shape: Use this only as a clue, not final proof.
- Ask a shop with photos: A good UK hi-fi shop would rather identify it correctly than process a return.
- Avoid no-name eBay guesses: Cheap copies can work, but poor diamonds and bad suspension are not kind to records.
The one thing I would not do is buy a stylus because the listing says “fits most record players”. That usually means it fits a narrow set of ceramic cartridges used on suitcase players, not a proper moving-magnet setup.
Replacement, upgrade or full cartridge?
If the deck is a basic automatic model, buy the correct replacement and keep things simple. If you have a cartridge with a known upgrade path, such as some Audio-Technica VM95 or Ortofon OM/2M families, a stylus upgrade can make sense once the rest of the setup is sorted.
The order matters. Clean records, level turntable, correct tracking force, decent speakers, then stylus upgrade. A finer stylus profile on a wobbly deck is like fitting expensive tyres to a car with the wheels pointing in different directions.
For broader context on vinyl storage and handling, our guide to storing vinyl records safely covers the heat and sleeve issues that often shorten stylus and record life together.
How to Remove the Old Stylus Safely
Work slowly and keep the tonearm locked if your deck has an arm clip. If it does not, hold the arm gently near the headshell so it cannot swing across the platter. Remove the record first. It sounds obvious until you see someone change a stylus over a £40 Blue Note reissue.
Step-by-step removal
- Switch the turntable off and unplug it if the platter can start automatically.
- Fit the stylus guard if the old stylus still has one.
- Secure the tonearm with its clip or hold it steady near the headshell.
- Grip the plastic stylus body, not the cantilever or diamond tip.
- Pull in the direction shown by the manual, usually down and slightly forward.
- Put the old stylus straight into a small bag or box so nobody mistakes it for the new one.
Some stylus assemblies need a firm tug, but not a yank. If it feels as though the whole cartridge is bending, stop and check the manual. A lot of damage happens because people pull sideways while the assembly is designed to hinge down first.
A note on automatic turntables
On decks such as many Audio-Technica automatic models, the cartridge may be fixed to the arm and only the stylus assembly is designed to come off. That is good news. It removes alignment from the job. The catch is that the replacement part has to be exact. A similar-looking stylus may click in poorly or sit at the wrong angle.
If you are unsure, pause. Replacing the wrong part twice costs more than asking a shop once.
How to Fit the New Stylus
Take the new stylus out of its packaging by the plastic body only. Leave the guard on until it gets in the way, then remove it with the stylus pointing away from your fingers. The cantilever is tiny, exposed and much easier to bend than most people expect.
Step-by-step fitting
- Line up the stylus assembly with the cartridge body.
- Slide or hook it in using the same angle the old one came out.
- Press gently until it seats fully or clicks into place.
- Check from the front that the cantilever sits straight.
- Refit the stylus guard while you set tracking force or tidy the work area.
- Keep the old stylus until the new one has been tested, then dispose of it safely.
Do not touch the diamond tip to “see if it is there”. It is there. Your fingertip oil and one accidental bend will not help.
If it does not click in
Back out and compare old and new parts side by side. A genuine replacement should have the same fitting shape, not just the same colour. If one locating tab is different, you probably have the wrong stylus for the cartridge variant.
Do not shave plastic, force it, or use tape. I have seen that bodge suggested in forums and it is a fast route to bad tracking. Send the part back if it is wrong.
Checks Before Playing a Record
Once the stylus is fitted, do not go straight to music. A two-minute check can save a record.
Start with the basics:
- Stylus angle: Look from the front. The cantilever should not lean sharply left or right.
- Secure fit: The stylus assembly should sit flush with the cartridge body.
- Tracking force: If your tonearm is adjustable, set it to the cartridge maker’s recommended range.
- Anti-skate: Set it to match tracking force unless the manual says otherwise.
- Platter level: A small spirit level is enough for a quick check.
- Clean test record: Use a record you know and can replace.
For adjustable arms, a cheap digital tracking-force scale is a good £10-£20 purchase. Shure’s old SFG-2 tracking force guide also shows why measuring in grams matters: tiny changes at the stylus tip make a real difference.
If the new stylus is tracking cleanly but the system still sounds thin, quiet or oddly boomy, the problem may sit elsewhere in the chain. Our phono preamp explainer is the better next check before you start swapping more parts.
Do not track too light
New vinyl owners often think lower tracking force means less wear. It can do the opposite. If the stylus is too light, it mistracks, rattles around the groove and damages both the record and the stylus. Use the recommended range. If the cartridge says 1.8-2.2g, setting it around 2.0g is usually safer than trying to prove a point at 1.2g.
If you are using a deck with fixed tracking force, do not try to adjust what is not designed to be adjusted. Fit the correct stylus and keep records clean.
Common Mistakes That Damage Styli
Most stylus disasters happen during handling, not playback. The classic one is brushing side-to-side. A stylus is designed to move with the groove, not to be scrubbed sideways with a stiff brush.
Cleaning the wrong way
Use a stylus brush from back to front only, following the direction the record travels under the needle. Do not brush front to back, side to side, or in circles. Avoid mystery fluids unless the cartridge maker recommends them. Some cleaning liquids can wick into the cantilever suspension and cause trouble.
The safer routine is boring:
- Brush records before playing: A carbon-fibre record brush removes loose dust before it reaches the stylus.
- Clean the stylus lightly: Back-to-front, one or two passes, no pressure.
- Use inner sleeves: Paper dust is not kind to stylus tips.
- Close the dust cover between sessions: Not during loud playback if it causes resonance, but definitely when the deck is idle.
Cueing by hand
Use the cueing lever. That little lever is not decorative. Lowering the stylus by hand is fine if you have years of muscle memory, but for most people it increases the chance of dropping the needle, dragging it sideways, or missing the lead-in groove.
If your cueing lift drops too quickly, get it serviced or use extra care. A stylus landing hard on the record is not a nice sound.
How Much Should You Spend?
Spend in line with the cartridge and the records you play. A £20 replacement can be perfectly sensible on an entry-level deck. A £150 stylus upgrade can be money well spent on a properly set up cartridge family. A £150 stylus on a suitcase player is lipstick on a wobbly platter.
Rough UK price ranges
Expect prices around these levels:
- Basic conical replacement: About £15-£30, often for starter decks and automatic turntables.
- Elliptical replacement: About £25-£70, a common sweet spot for better detail and tracking.
- Advanced profile stylus: About £100-£250+, useful on better cartridges and clean records.
- Full moving-magnet cartridge: About £35-£200, plus setup effort.
- Hi-fi shop setup: Often £30-£80 depending on the work and local rates.
If your records are mostly charity-shop finds and family hand-me-downs, spend some money on cleaning before chasing a fancy stylus. If your collection is mostly new pressings and you sit down to listen, an elliptical or better stylus is easier to justify.
For turntable buying context, our beginner turntable guide and best turntables under £300 explain which decks give you a sensible upgrade path instead of trapping you with odd replacement parts.
Keeping the New Stylus in Good Condition
The best stylus replacement is the one you do not have to repeat early. Keep dust away from the groove and keep force within spec. That sounds plain, but it is the whole game.
A simple care routine
- Brush the record before each play.
- Use the cueing lever rather than hand-dropping the tonearm.
- Clean the stylus back-to-front every few sides, or more often with dusty records.
- Keep the stylus guard on during cleaning around the deck.
- Store records upright in decent inner sleeves.
- Check tracking force after moving the turntable.
The bit I am fussiest about is record cleanliness. A dusty stylus is often a symptom of dusty records. Clean the source of the muck and the stylus has a much easier life.
What to do after the first play
Play a familiar record at moderate volume. Listen for stable vocals, clean cymbals and even left-right balance. If it sounds worse than before, stop. Check the stylus is seated, check the tracking force, and make sure the cartridge body has not been knocked. Do not keep playing through obvious distortion in the hope it will “bed in”.
If the sound is cleaner but slightly tighter or brighter than the old stylus, that can be normal. Your old stylus may have been worn. Give it a few records before making grand judgements, but never ignore skipping, scraping or a visibly crooked cantilever.
Bottom Line
Replacing a turntable stylus is usually a small, careful maintenance job: identify the cartridge, buy the correct stylus, remove the old assembly by the plastic body, fit the new one without touching the cantilever, then check tracking force before playing anything valuable.
The mistake to avoid is guessing. Guessing the part, guessing the fitting direction, guessing the tracking force. Get those three right and the job is calm. Get them wrong and your records become the test equipment.
If your deck is a normal user-replaceable moving-magnet setup, this is a job most careful owners can do at home. If it is a valuable cartridge, a moving-coil design, or anything that needs alignment afterwards, paying a hi-fi shop is not defeat. It is cheaper than learning with a bent cantilever.
Frequently Asked Questions
Can I replace just the stylus, or do I need a whole cartridge? You can replace just the stylus if your cartridge has a removable stylus assembly. Many moving-magnet cartridges do. If the stylus is fixed, damaged at the cartridge body, or part of a moving-coil cartridge, you may need a full cartridge replacement or professional service.
How often should I replace a turntable stylus? Use the maker’s guidance as a rough starting point, then judge by sound, record cleanliness and handling. If distortion appears on clean records, the cantilever is bent, or the deck came second-hand with unknown hours, replace it sooner.
Will a new stylus damage my records? A correct, undamaged stylus fitted properly and tracking at the right force should protect records better than a worn one. The risk comes from the wrong part, a crooked cantilever, bad tracking force or dirty records.
Can I upgrade the stylus instead of buying the same one again? Sometimes. Cartridge families such as some Audio-Technica, Ortofon and similar moving-magnet ranges offer upgrade styli. Upgrade only if the replacement is confirmed compatible with your cartridge and the turntable is set up well enough to benefit.
Why does my new stylus sound distorted? Stop playing and check fit, tracking force, anti-skate and record cleanliness. If those are right, confirm that the replacement stylus is the exact model for your cartridge. A part that almost fits can still sit at the wrong angle.
Should I clean a brand-new stylus before using it? A gentle back-to-front pass with a proper stylus brush is fine, but do not scrub it or use random fluids. The bigger win is cleaning the record before play so dust does not collect on the new tip straight away.