You’ve just picked up your first turntable — maybe an Audio-Technica LP60X from Amazon UK, or perhaps a Pro-Ject Debut Carbon you’ve been eyeing in Richer Sounds for months. It’s sitting on your shelf, still in the box, and you’re looking at the counterweight, the anti-skate dial, and something called a phono stage thinking “what have I got myself into?” Don’t worry. Setting up a turntable is far simpler than it looks, and once you’ve done it once, the whole process takes about 15 minutes.
This guide walks you through how to set up a turntable from unboxing to first spin, covering everything from placement and balancing the tonearm to connecting it to your amplifier or speakers. Whether you’ve bought a budget deck or something more serious, the fundamentals are the same.
What You’ll Need Before You Start
Before you tear into the packaging, gather a few things. Most of what you need comes in the box, but a couple of extras will save you time.
- The turntable itself — obviously, but check everything’s in the box: platter, belt (if belt-drive), counterweight, headshell with cartridge (sometimes pre-installed), dust cover, and power supply
- A spirit level — a small one, or the free app on your phone works fine
- A flat, stable surface — this matters more than you’d think
- Phono cables — usually included; red and white RCA connectors
- An amplifier or powered speakers — you need something with a phono input, or a separate phono preamp
- A stylus force gauge — optional but recommended for manual turntables (about £10-15 from Amazon UK)
If your turntable came with a pre-mounted cartridge (most under £300 do), you can skip buying a separate one. The Audio-Technica AT-VM95E is the standard cartridge bundled with many decks, and it’s genuinely good for the money.
Choosing the Right Spot for Your Turntable
This is where most beginners go wrong, and it’s the easiest thing to get right. Your turntable needs a level, stable surface away from your speakers. That last bit is important — put your deck on the same shelf as a bookshelf speaker and the vibrations from the bass will travel through the surface, into the turntable, and back through the stylus. You’ll hear a low rumble or, worse, actual feedback.
A dedicated hi-fi rack is ideal but not essential. A solid piece of furniture works — think a sturdy sideboard or a wall-mounted shelf. IKEA Kallax units are popular in the vinyl community for a reason: they’re rigid, the right height, and you can store records underneath.
What to avoid:
- Wobbly surfaces — that side table with the dodgy leg is not the one
- Directly on carpet — if your furniture is on carpet, that’s fine, but don’t put the turntable on the floor
- Next to speakers — keep at least 30cm between the turntable and any speaker, more if you can
- Near a window in direct sunlight — heat warps records and damages the stylus over time
Once your turntable is in position, use your spirit level to check it’s flat. Most turntables have adjustable feet — twist them until the bubble sits dead centre. A level platter means even tracking force across the record, which means better sound and less wear on your vinyl.
Assembling the Turntable
Unboxing procedure varies by model, but the general steps are consistent across most belt-drive turntables (the most common type for home use).
Fitting the Platter and Belt
Lift the platter out of its packaging and place it on the spindle. For belt-drive models like the Pro-Ject Debut or Rega Planar 1, you’ll need to loop the belt around the inner hub of the platter and then around the motor pulley. The motor is usually visible through a cutout in the platter or accessible by lifting it slightly.
The belt should sit flat — not twisted. If it’s twisted, it’ll create inconsistent speed, and you’ll hear pitch wobble (called “wow and flutter”) that makes everything sound slightly seasick. Take 30 seconds to get this right.
Direct-drive turntables like the Audio-Technica LP120X don’t have a belt — just drop the platter on and you’re done.
Attaching the Counterweight and Headshell
The counterweight screws onto the back end of the tonearm. Don’t force it — it should thread on smoothly. Leave it in a rough position for now; you’ll fine-tune it during balancing.
If your cartridge isn’t pre-mounted, slide the headshell into the tonearm connector and twist the locking ring until it clicks. Most budget turntables come with this already done, so check before you start fiddling.
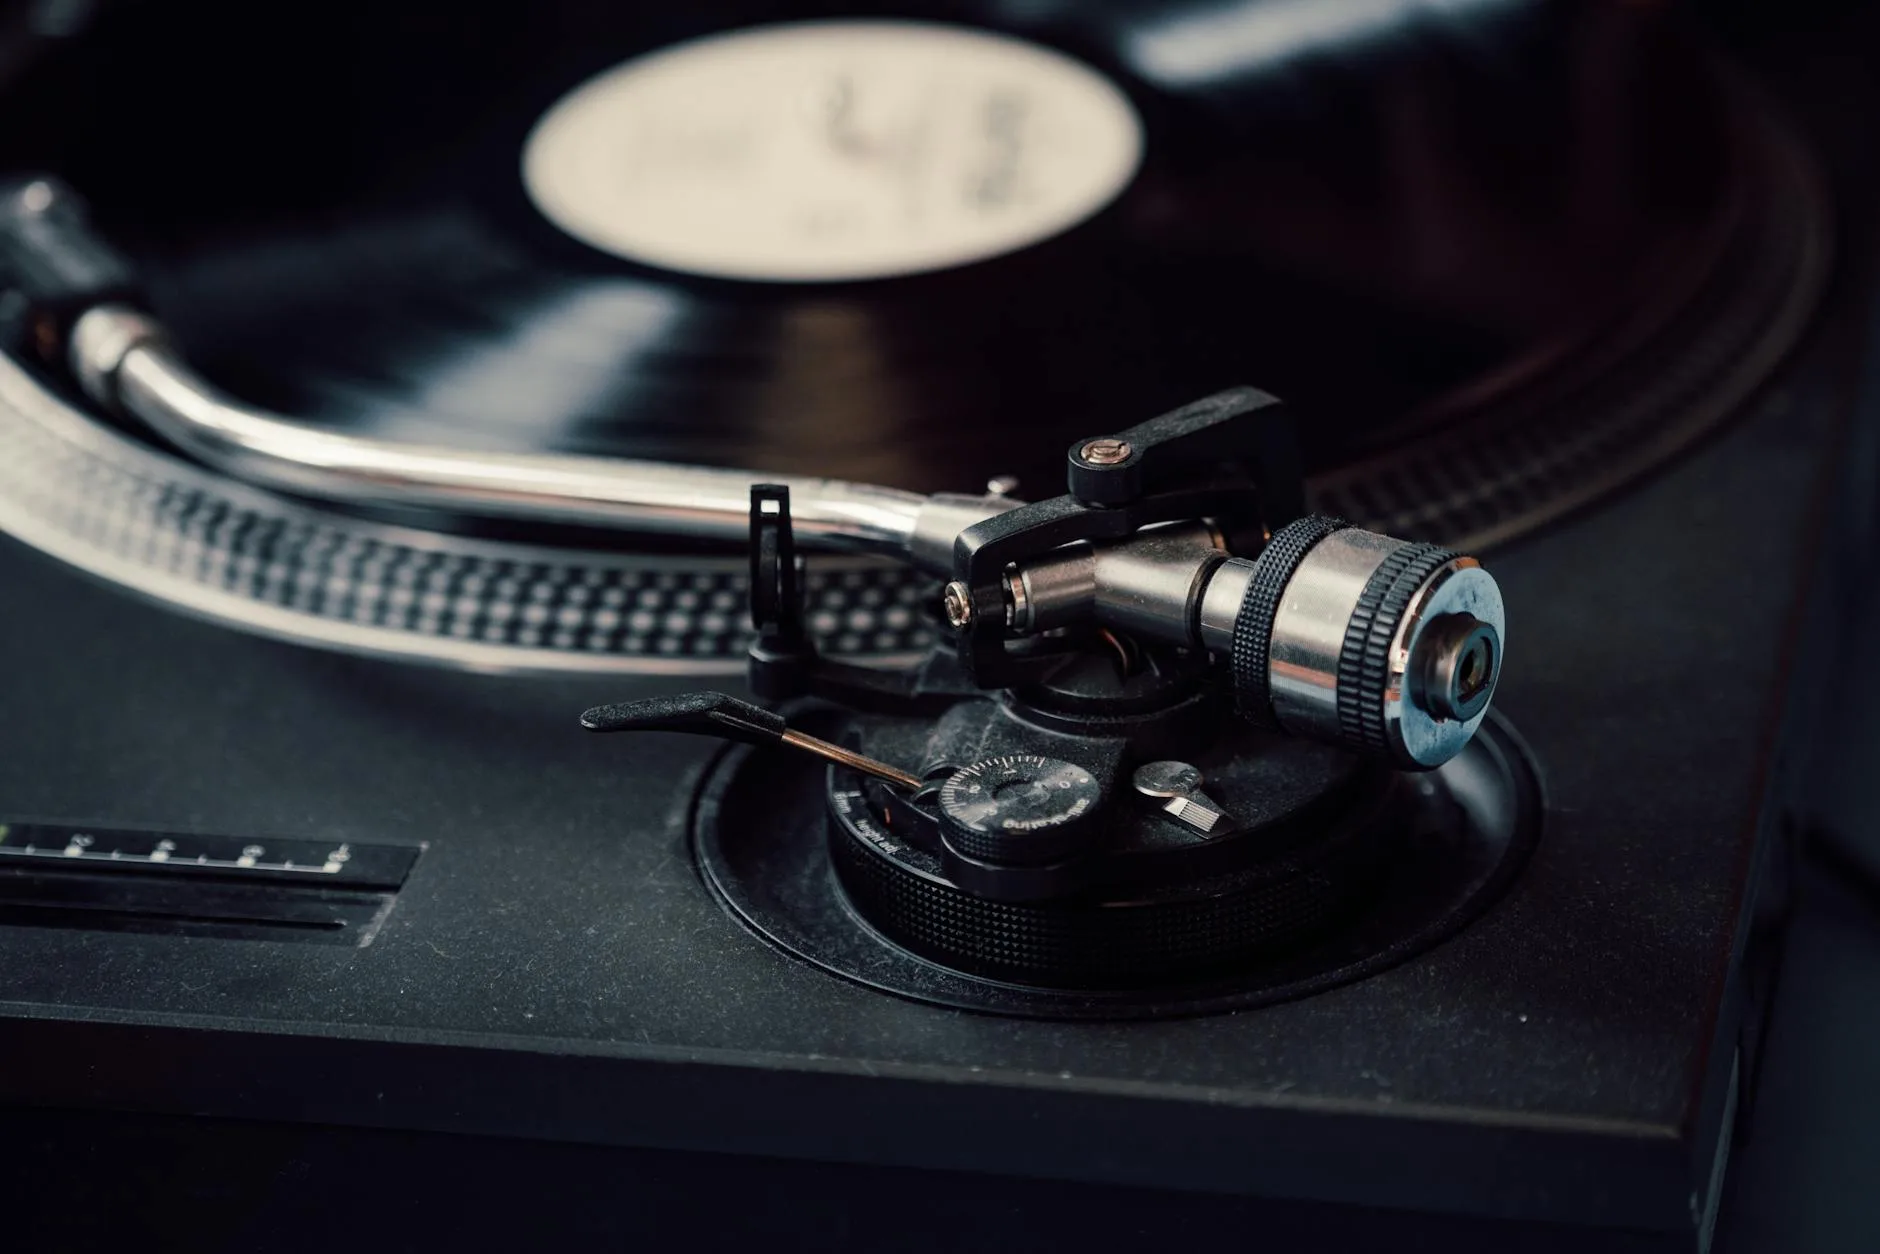
Balancing the Tonearm
This is the step that intimidates people most, but it’s just applied patience. The tonearm needs to float perfectly level — neither tilting toward the record nor pulling back toward the counterweight. Once balanced, you add a specific amount of downward force (tracking force) so the stylus sits in the groove properly.
Step-by-Step Tonearm Balancing
- Set anti-skate to zero — find the anti-skate dial (usually next to the tonearm base) and turn it to 0
- Unlock the tonearm — lift it from the rest and hold it gently
- Adjust the counterweight — twist the entire counterweight body (not the numbered ring) forward or backward until the tonearm floats level on its own, parallel to the record surface
- Don’t let it crash — keep a finger underneath while adjusting. A stylus dropped onto the platter at speed is not ideal
- Zero the dial — once balanced, hold the counterweight still and rotate just the numbered ring until “0” lines up with the reference line. This is your zero point
- Set tracking force — now rotate the entire counterweight (ring and all) until the number matches your cartridge’s recommended tracking force. For the AT-VM95E, that’s 2.0 grams. For the Ortofon 2M Red, it’s 1.8 grams. Check your cartridge spec sheet.
- Set anti-skate — match the anti-skate dial to the same number as your tracking force. So if tracking force is 2.0g, anti-skate goes to 2.0. For a related angle, see our How to Clean and Maintain Your Headphones guide.
That’s it. If you’ve got a digital stylus force gauge (the Neoteck one from Amazon UK costs about £12 and works perfectly), place the stylus on it to verify. Being off by 0.2-0.3 grams is fine. Being off by a full gram is not — too light and the stylus skips, too heavy and it wears your records faster.
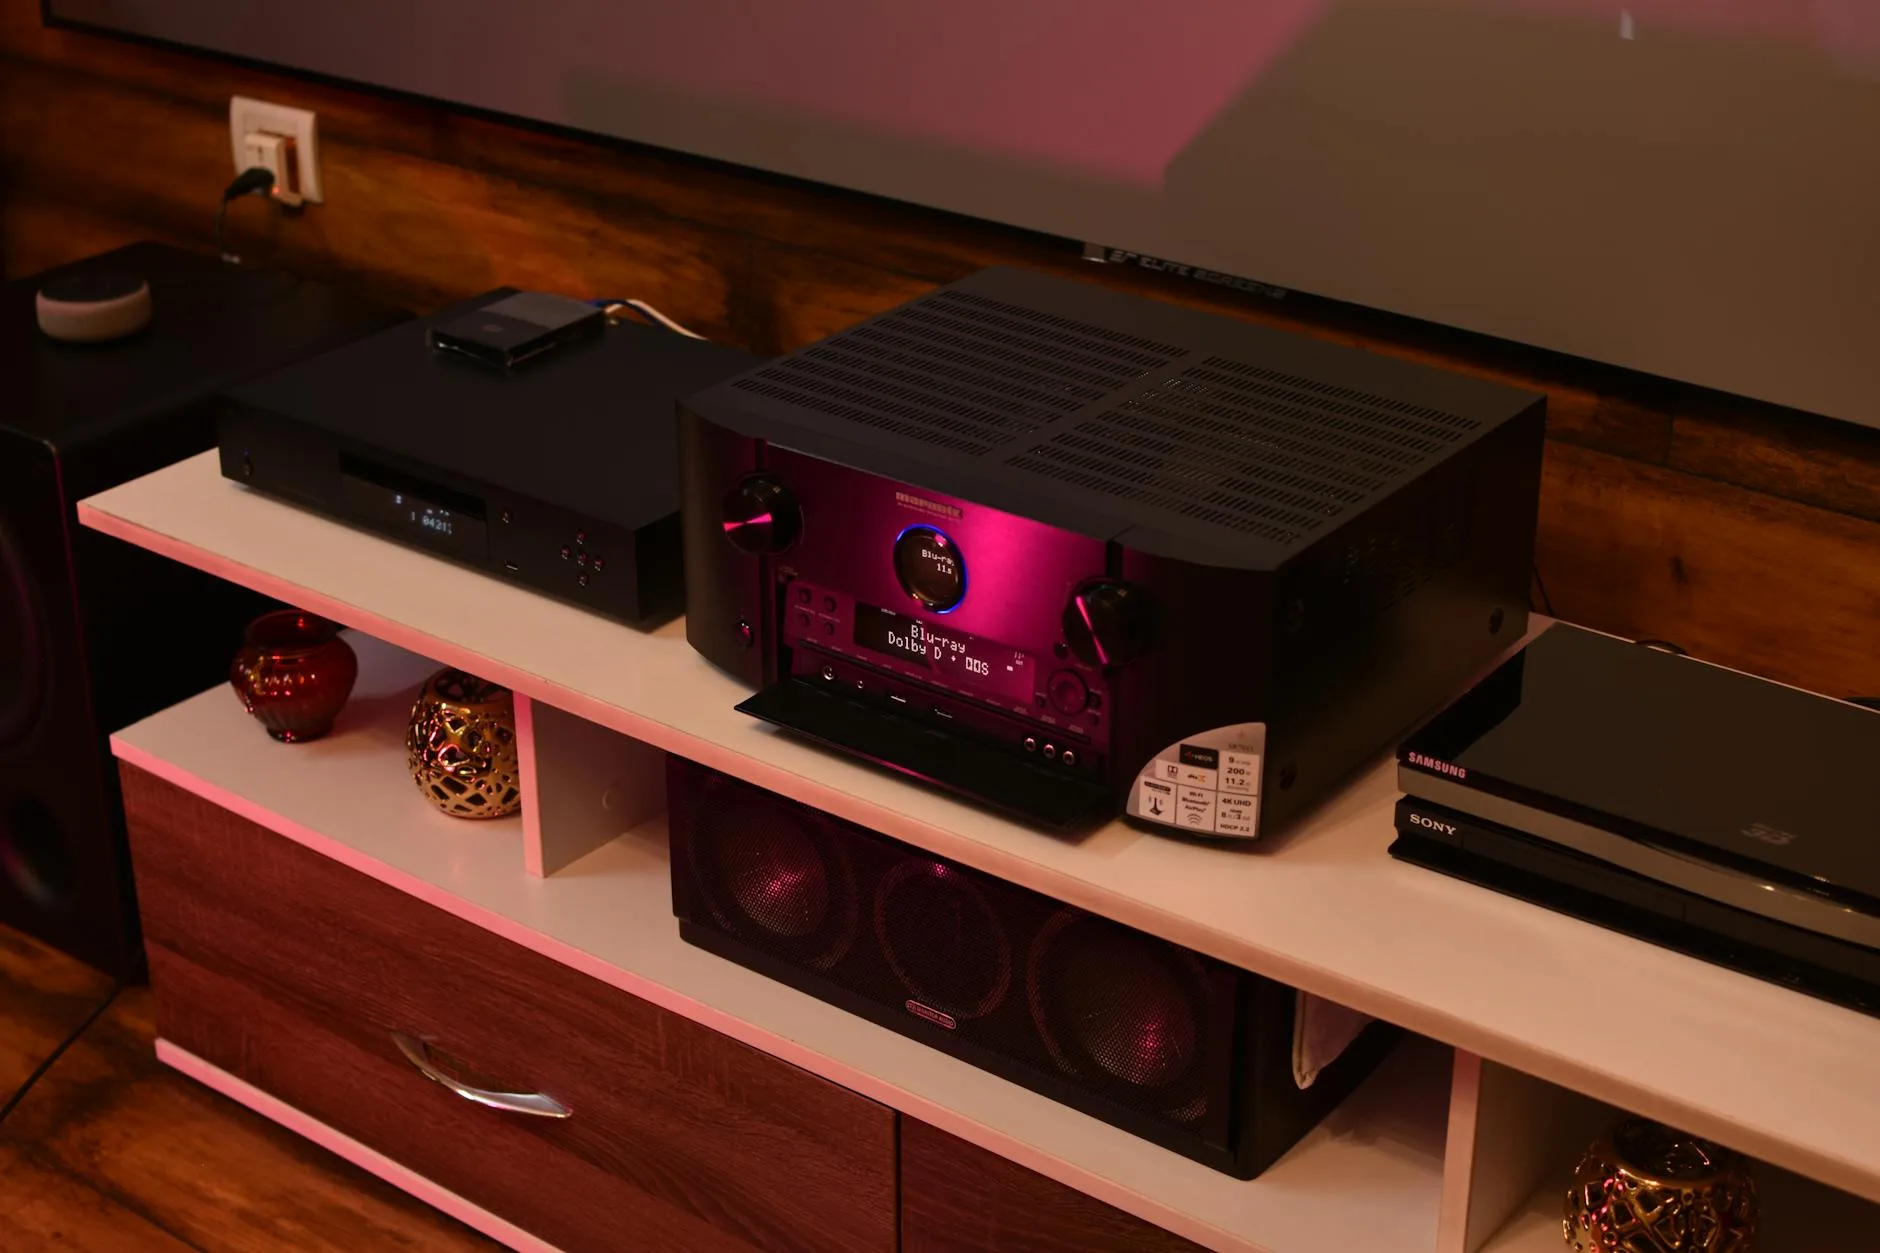
Connecting Your Turntable to Speakers
Here’s where people get confused, because there’s one extra step in the chain that other audio sources don’t need: the phono stage. A turntable outputs a very quiet, frequency-adjusted signal called a phono signal. It needs boosting and equalising before it sounds right. That’s what a phono preamp does. If you’re not sure what a phono preamp is or whether you need one, we’ve got a full explanation of phono preamps and how they work that’s worth a read.
You have three scenarios, and you need to figure out which applies to you:
Scenario 1: Turntable With Built-In Phono Preamp
Many modern turntables — the Audio-Technica LP60X, LP120X, and most under £200 — have a built-in phono preamp. There’s usually a switch on the back labelled “PHONO/LINE.” Set it to LINE, and connect the RCA cables directly to any input on your amplifier or powered speakers. Done.
Scenario 2: Separate Phono Preamp
If your turntable doesn’t have a built-in preamp (the Rega Planar 1 and Pro-Ject Debut Carbon don’t), you need a standalone phono preamp between the turntable and your amplifier. Connect turntable → phono preamp → amplifier. The ART DJ Pre II (about £45) and the Rega Fono Mini A2 (about £50) are both excellent budget options available from Richer Sounds or Amazon UK.
Scenario 3: Amplifier With Phono Input
Some hi-fi amplifiers have a dedicated phono input — look for “PHONO” printed next to one of the RCA input pairs on the back. If yours has one, connect the turntable directly there. The amplifier has a built-in phono stage. Just make sure your turntable’s built-in preamp is switched OFF (set to PHONO, not LINE) — running through two phono stages sounds terrible. Distorted, boomy, and way too loud.
Don’t Forget the Ground Wire
If your turntable has a thin wire with a spade or U-shaped connector dangling from the back, that’s the ground wire. Attach it to the grounding post on your phono preamp or amplifier (a small screw terminal, usually labelled “GND”). If you skip this, you’ll get a persistent low hum through your speakers. It won’t damage anything, but it’ll drive you mad.
Setting the Speed
Most records play at one of two speeds: 33⅓ RPM (standard LPs) or 45 RPM (singles and some audiophile pressings). Your turntable should have a speed selector — a button or switch, usually on the front or top panel.
Some turntables (particularly Pro-Ject models) change speed by moving the belt to a different step on the motor pulley. You’ll need to lift the platter off to do this. It’s slightly annoying but only matters when switching between LP and 45 RPM records. Our Multi-Room Speaker Systems: A Beginner’s Guide guide is useful alongside this.
If something sounds oddly fast and high-pitched, you’re playing a 33 RPM record at 45. If it sounds slow and deep like a whale having a bath, the opposite is happening. Easy fix.
Your First Record — What to Expect
Before you drop the needle for the first time, a few things:
- Clean the record — even brand new vinyl can have dust from the sleeve. A carbon fibre brush (about £8-12 from Amazon UK) is the standard tool. One rotation while the record spins, light pressure, and lift off toward the edge.
- Clean the stylus — use a stylus brush, gently moving from back to front (never side to side). Do this every few records.
- Lower the stylus gently — use the cueing lever, not your hands. The cueing lever lowers the tonearm in a controlled way. Dropping it manually risks scratching the record or damaging the stylus.
When the music starts, listen for obvious problems. A consistent crackling on a new record usually means dust — clean it again. Distortion on loud passages might mean your tracking force is too light. A low hum means your ground wire isn’t connected, or your turntable is too close to your speakers.
Vinyl sounds different from digital. There’s a warmth and texture to it — a slight softness in the highs, a fullness in the mids. Some people find it immediately magical. Others think “is that it?” Give it a few records. The ritual of cleaning, cueing, and flipping sides becomes part of the appeal. If you’re curious about why vinyl sounds the way it does compared to digital files, our guide on audio file formats and how they differ explains the technical side.
Common Setup Mistakes and How to Fix Them
The Sound Is Distorted or Fuzzy
Usually a tracking force issue. Rebalance the tonearm and make sure you’re hitting the right number for your cartridge. Also check you’re not running through two phono stages — built-in preamp on plus plugged into a phono input on your amp is a classic one.
The Record Skips
Check tracking force first. If that’s correct, check the record for visible scratches or warping. A slightly warped record might play fine with a tiny tracking force increase (0.1-0.2g above recommended). Deep scratches are permanent, unfortunately.
There’s a Hum
Ground wire. Connect it. If it’s already connected and you still hear hum, try moving the turntable away from any power transformers, phone chargers, or other electronics.
One Channel Is Missing
Check your RCA connections — red to red, white to white. If the cables feel loose, they may not be fully seated. Push them in firmly. If one channel is quiet rather than completely missing, your cartridge alignment might be off.
The Record Sounds Slow or Fast
Wrong speed setting. Check the 33/45 switch. On belt-drive turntables, the belt might have slipped off the motor pulley — open it up and check.
Upgrades Worth Considering Later
Once you’re up and running, resist the urge to upgrade everything at once. Live with your setup for a few months and figure out what you actually want to improve. That said, when the time comes:
- Cartridge upgrade — the single biggest sound improvement you can make. Moving from the stock cartridge to an Ortofon 2M Blue (about £200) or Nagaoka MP-110 (about £90) is transformative
- External phono preamp — if you’ve been using a built-in one, a dedicated unit like the Rega Fono Mini A2 or the Cambridge Audio Alva Solo (about £150) will noticeably clean up the sound
- Better speakers — if you’re using small powered speakers, moving to a proper stereo amplifier and passive bookshelf speakers opens everything up. The Q Acoustics 3020i (about £180 from Richer Sounds) paired with a Cambridge Audio AXA25 amp (about £200) is a proper starter hi-fi
- Record cleaning kit — a Spin-Clean record washer (about £70) makes a remarkable difference to secondhand records
If you’re also thinking about choosing the right headphones for late-night listening sessions, a decent pair of open-back headphones like the Beyerdynamic DT 990 (about £130) paired with your turntable is a lovely experience.
Frequently Asked Questions
Do I need a phono preamp for my turntable? It depends on your turntable and amplifier. Many modern turntables under £200 have a built-in phono preamp — check for a PHONO/LINE switch on the back. If your turntable doesn't have one, you'll need either a standalone phono preamp (from about £30) or an amplifier with a dedicated phono input.
How often should I replace my turntable stylus? A typical stylus lasts around 800-1,000 hours of playing time. If you listen for an hour a day, that's roughly 2-3 years. Signs it needs replacing include increased surface noise, distortion on loud passages, and the stylus visibly wearing down when viewed under magnification.
Can I connect a turntable directly to Bluetooth speakers? Not directly. You need a Bluetooth transmitter, and the turntable must output a line-level signal (either via a built-in phono preamp or an external one). Some newer turntables like the Audio-Technica LP60XBT have Bluetooth built in. Be aware that Bluetooth adds a slight audio delay and some compression.
What tracking force should I set on my turntable? Every cartridge has a recommended tracking force specified by the manufacturer. Common values are 1.8g for the Ortofon 2M Red and 2.0g for the Audio-Technica AT-VM95E. Check the documentation that came with your cartridge or look up the specs on the manufacturer's website.
Why does my turntable hum through the speakers? A persistent low hum is almost always a grounding issue. Connect the ground wire from your turntable to the grounding terminal on your phono preamp or amplifier. If the hum persists, try moving the turntable away from power supplies, phone chargers, and other electronics that can cause electromagnetic interference.